10 halloween ghost stickers

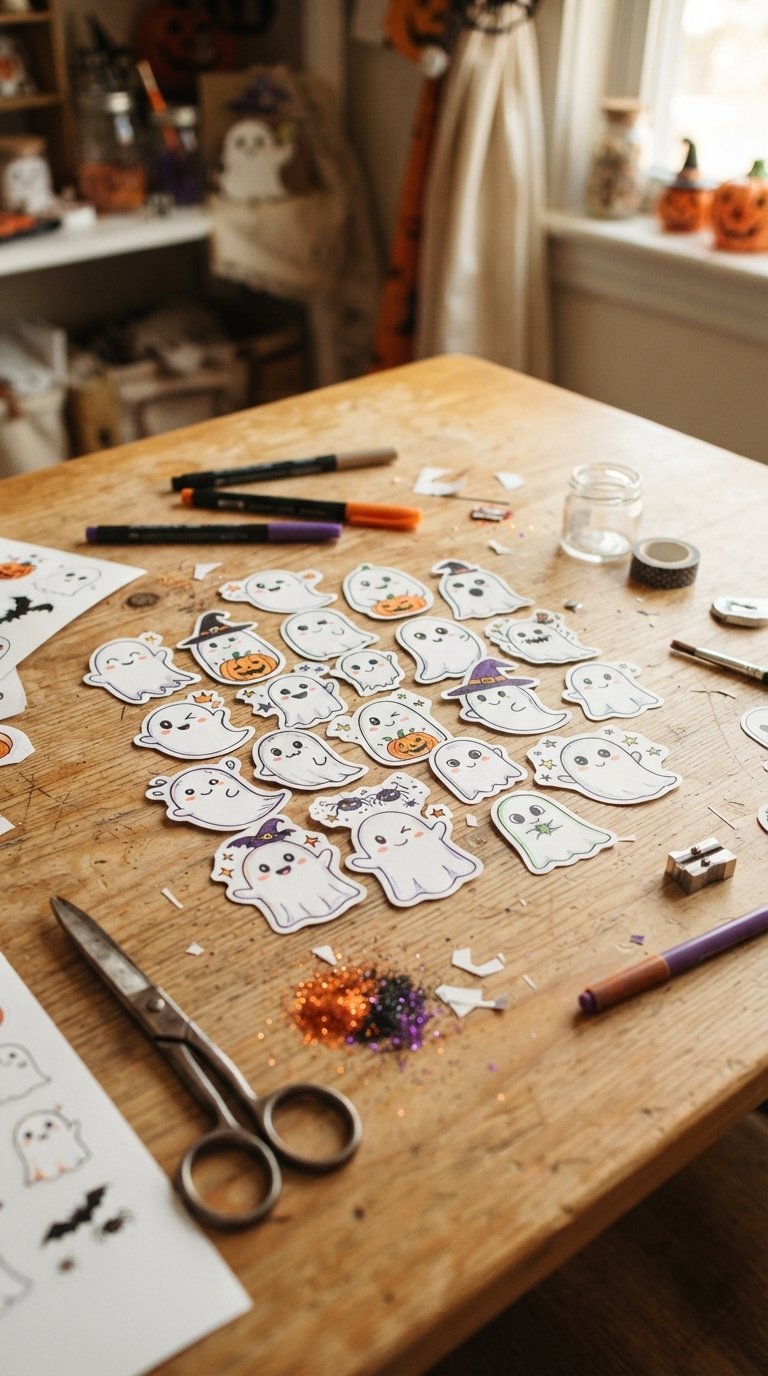
I absolutely adore Halloween, and one of my favorite ways to get into the spirit is through crafting, especially making my own decorations. There’s something so charming about a handmade touch, and ghost stickers are just perfect for adding a whimsical or spooky flair to almost anything! I’ve found they’re incredibly versatile, whether you’re decking out your planner, customizing party favors, or adding a personal touch to greeting cards. They’re also a fantastic project for all skill levels, from simple cut-outs to more intricate designs.
I love how a simple ghost shape can be transformed with different materials and artistic approaches, allowing for endless creativity. In this article, I’m excited to share ten distinct ideas for creating your own Halloween ghost stickers. You’ll discover how I approach each design, the materials I prefer, and my tips for making them uniquely yours. Get ready to dive into some fun and spooky sticker making!
Simple White Sheet Ghost Stickers
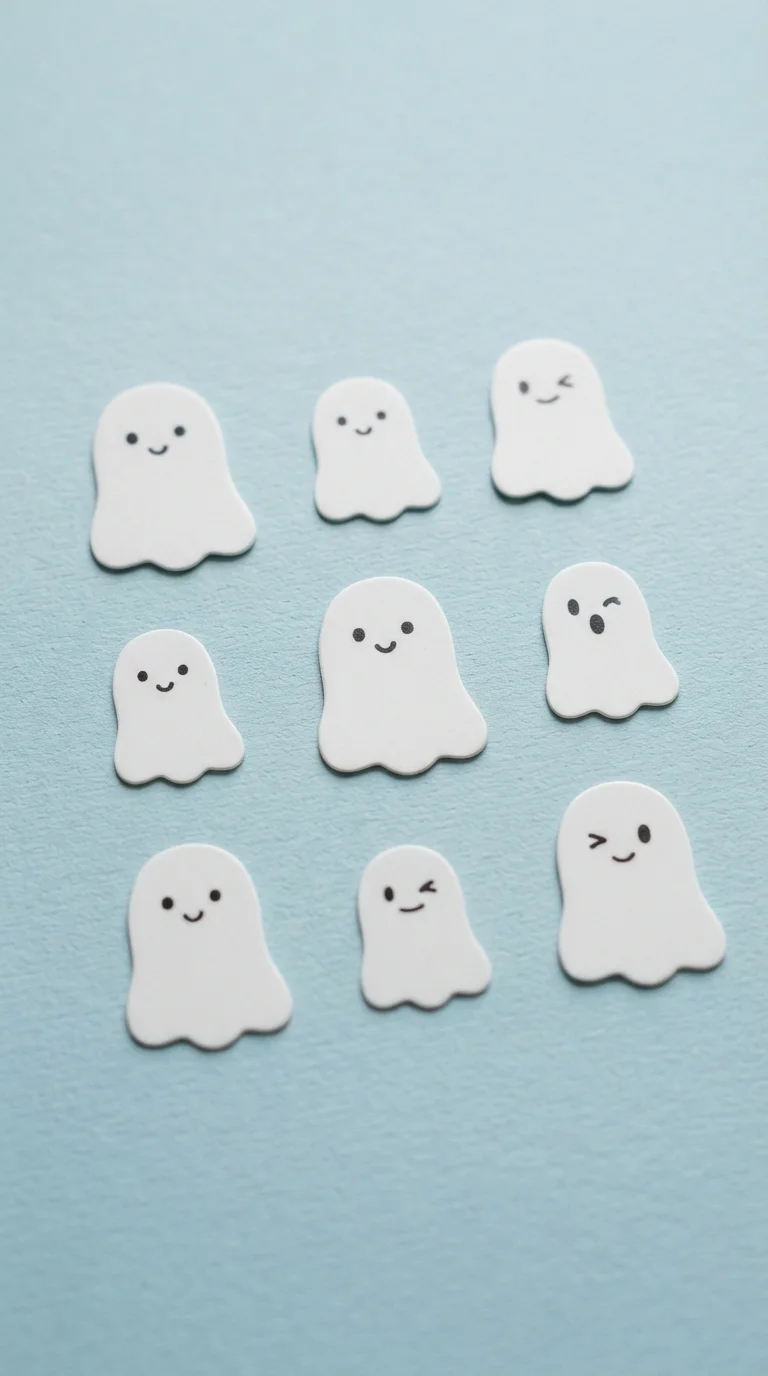
I always start with the classics, and these simple white sheet ghost stickers are incredibly charming and easy to make. I prefer using a good quality matte white vinyl or even thick cardstock for a slightly more rigid sticker. To create them, I simply sketch out a classic ghost shape, cut it out, and then use a fine-tip black permanent marker for the eyes and a simple “O” or wavy mouth. For a truly budget-friendly option, plain white paper works just as well, and you can apply a layer of clear packing tape over the top for durability.
I love how versatile these are; they’re perfect for sealing treat bags or adding a minimalist touch to a Halloween card. A common mistake I see is making the eyes and mouth too perfect; a little wobble gives them character! These are quick to mass-produce for parties or classroom decorations.
Shimmering Glitter Ghost Decals
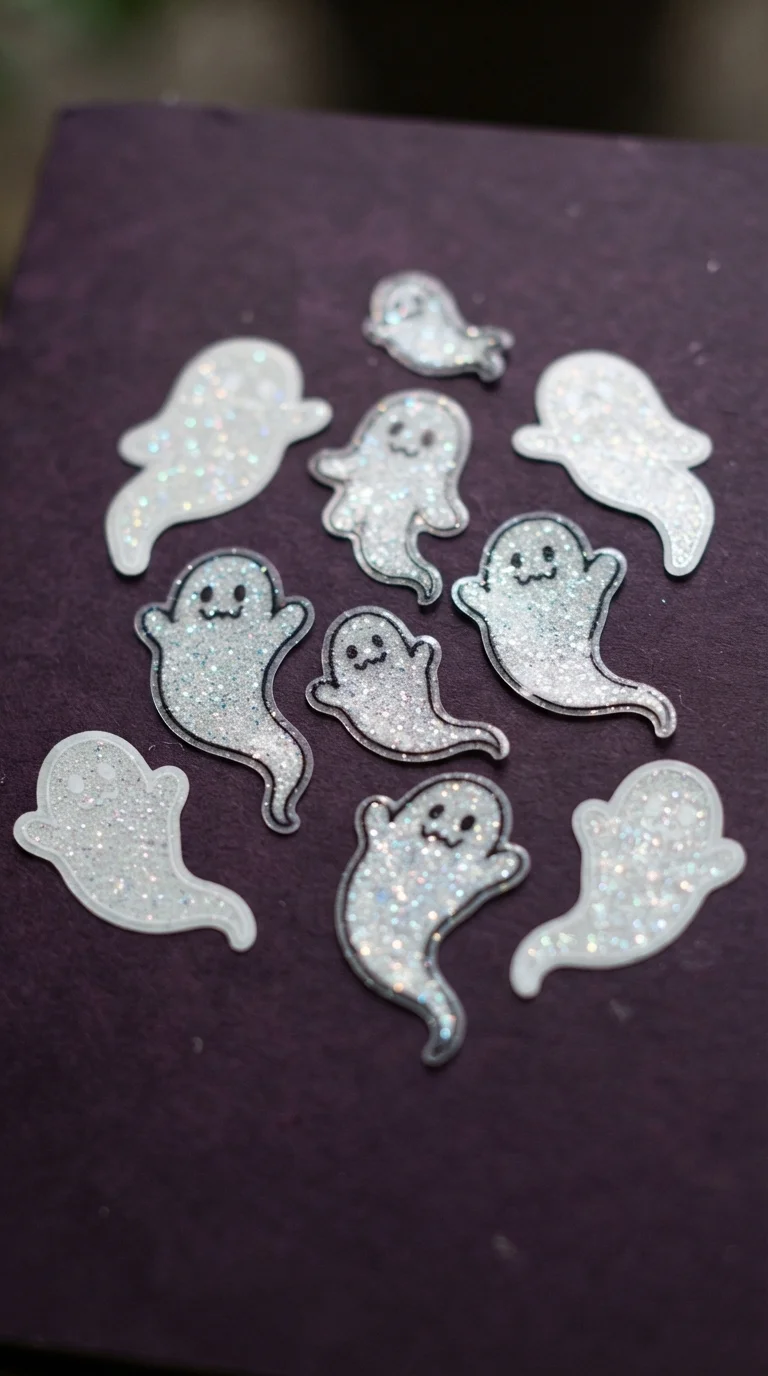
For a touch of magic, I adore making glittery ethereal ghost stickers. I start by cutting out my ghost shapes from white sticker paper, then apply a thin layer of craft glue over the surface. While the glue is still wet, I sprinkle on ultra-fine white or iridescent glitter, tapping off the excess. Sometimes, I’ll add a subtle black or silver outline with a gel pen before the glitter to make the shape pop.
I find these look absolutely stunning on darker surfaces, like a black journal cover or a deep purple gift bag, where their shimmer can really stand out. A great tip for less mess is to do your glitter application over a tray so you can collect and reuse the excess. If you’re on a budget, you can use glitter glue pens directly on paper ghosts for a similar sparkling effect without loose glitter.
Old-School Spooky Silhouette Stickers
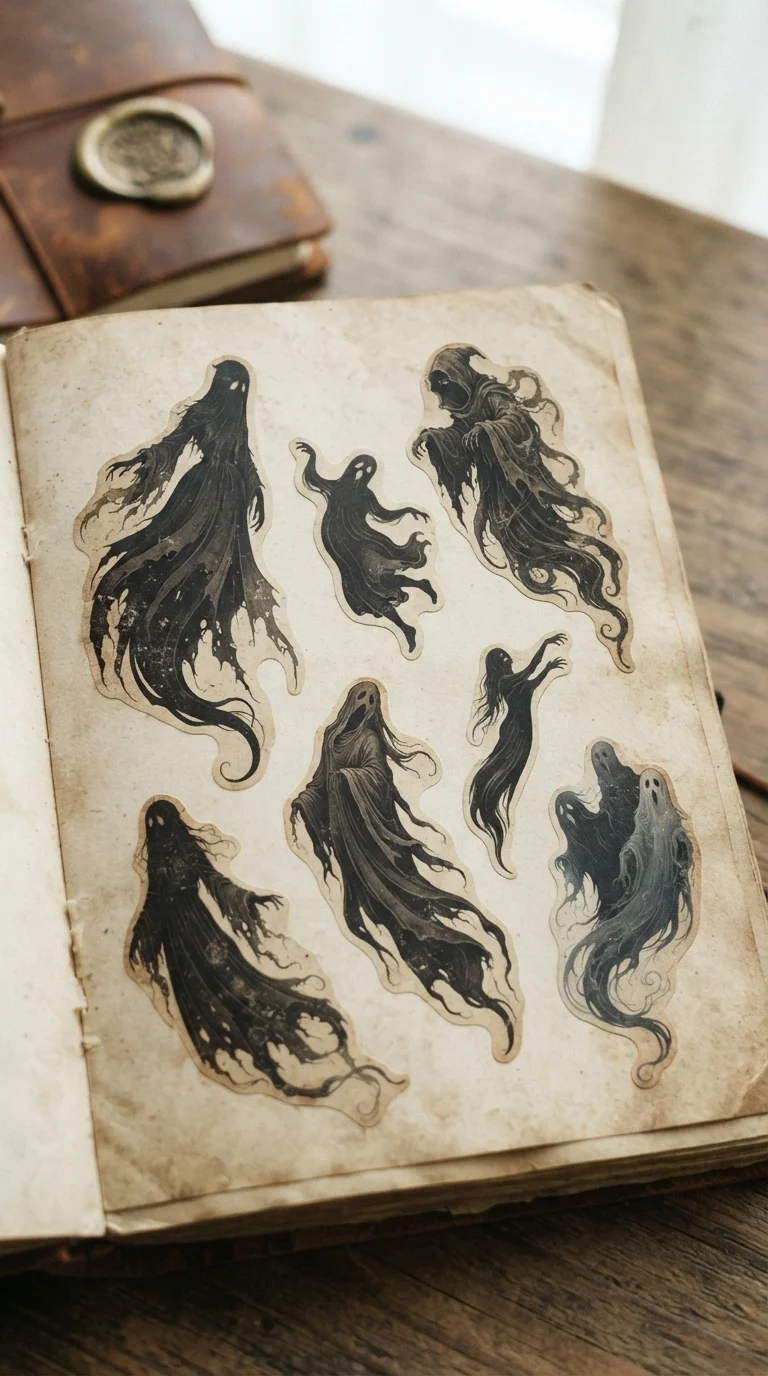
I love leaning into a bit of history for Halloween, and these vintage spooky silhouette stickers are a favorite of mine. I usually cut these from black or dark gray matte vinyl, focusing on elongated, flowing ghost shapes that evoke a sense of mystery. Sometimes I’ll lightly distress the edges with a fine-grit sandpaper or a touch of brown ink to give them an aged look.
For the design, I often look at old Victorian ghost illustrations for inspiration, focusing on simple yet impactful forms. These look fantastic on brown paper packages, old books, or even as part of a Halloween gallery wall. If you enjoy exploring different styles for your projects, you might also find inspiration in creating 12 vintage aesthetic stickers, which share a similar charm. I recommend avoiding overly complex details; the beauty of a silhouette is in its strong, recognizable shape.
Cute Kawaii Ghost Decals
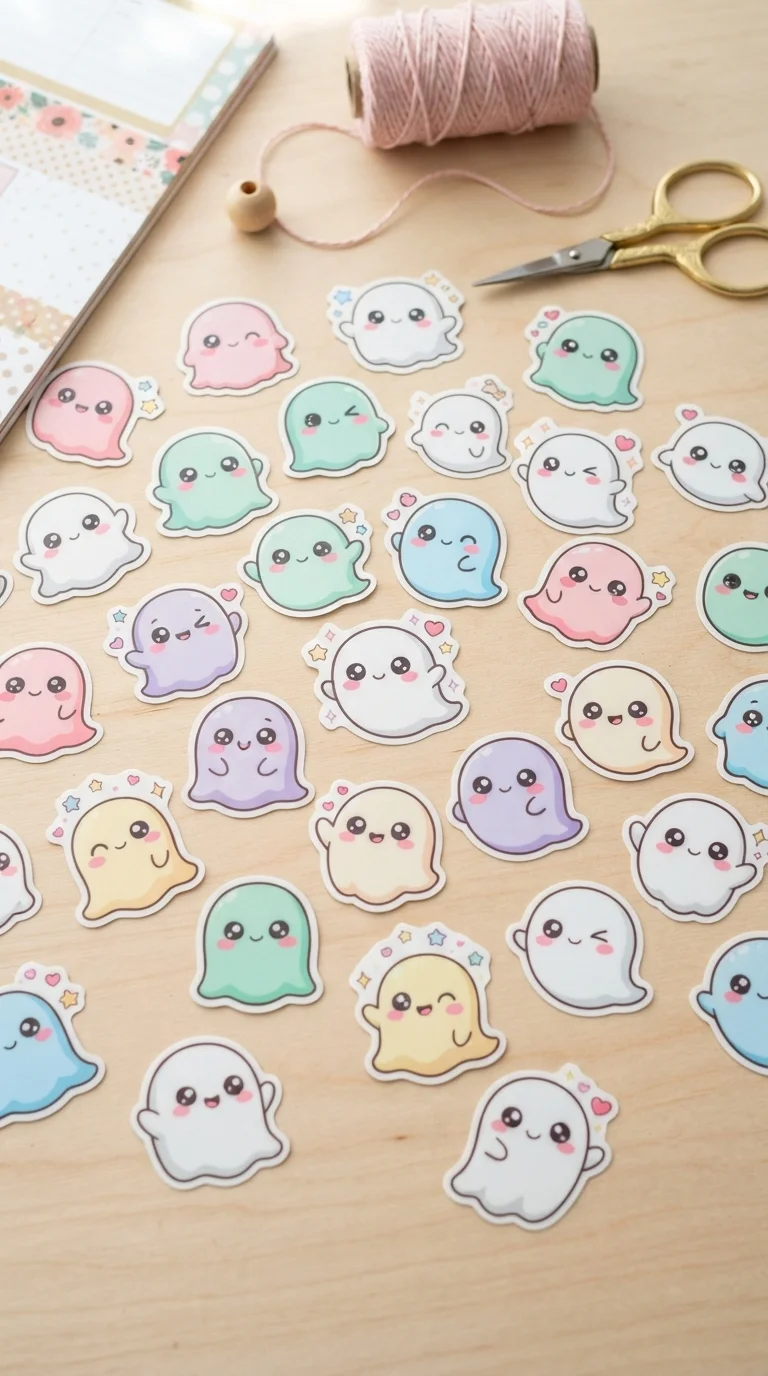
For those who prefer their spooks on the sweeter side, these friendly kawaii phantom stickers are absolutely irresistible. I love sketching these with rounded, plump bodies and adding oversized, sparkling eyes with tiny, shy smiles. Sometimes I even give them little rosy cheeks using a soft pink colored pencil or blush watercolor.
I typically use white sticker paper for the base, but I’ve also experimented with soft pastel colors like baby blue or mint green for a really unique look. These are perfect for decorating school supplies, lunchboxes, or adding a cheerful touch to party invitations. A simple tip for making the eyes sparkle is to add a tiny white dot with a gel pen after the black pupils are dry. Avoid making the features too small; the charm of kawaii is in its exaggerated cuteness.
Luminous Glow-in-the-Dark Ghosts
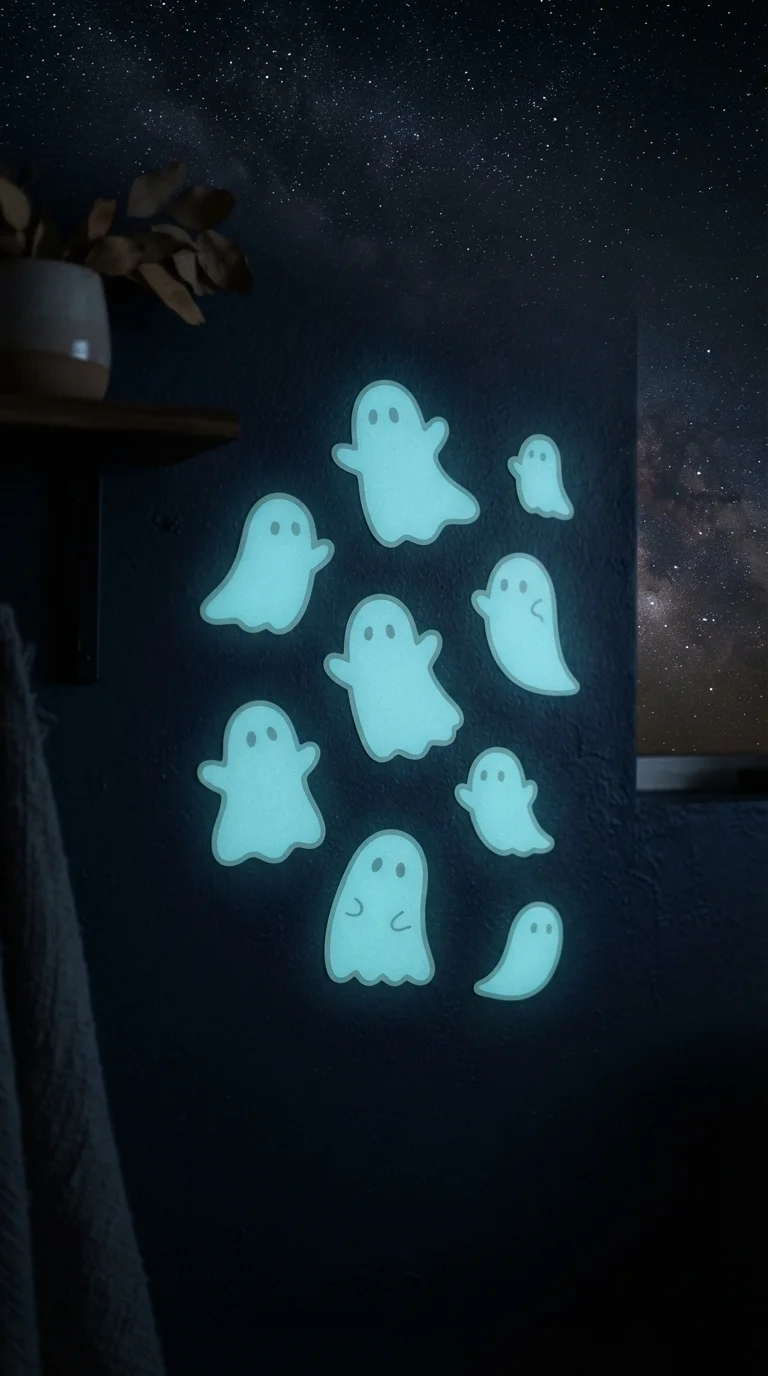
Who doesn’t love a bit of magic after dark? These luminous glow-in-the-dark ghost stickers are a fantastic way to add an unexpected surprise to your Halloween decor. I make these by cutting ghost shapes from glow-in-the-dark vinyl, which is readily available at most craft stores. If I can’t find vinyl, I’ll cut shapes from regular sticker paper and then carefully paint them with glow-in-the-dark craft paint.
I recommend simple, classic ghost shapes for these so the glowing effect isn’t lost in intricate details. They’re perfect for decorating windows, light switches, or even trick-or-treat buckets. Make sure to “charge” them under a bright light for a few minutes before placing them in the dark to get the best glow. A common mistake is not applying enough paint or not allowing it to fully dry before handling.
Soft Fabric Ghost Appliqués
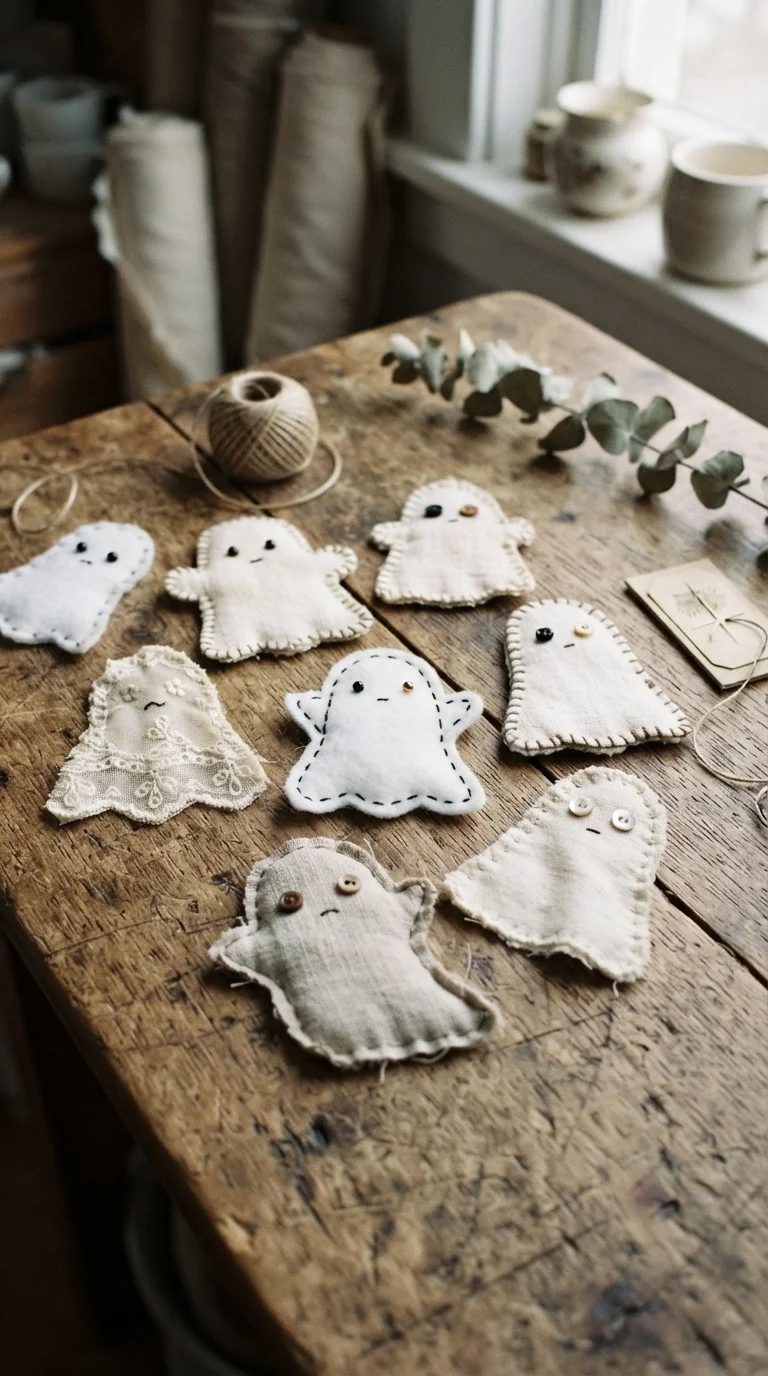
I love bringing different textures into my crafts, and these soft fabric ghost appliqués are wonderfully tactile. I usually cut ghost shapes from white or cream felt, which is easy to work with and has a lovely soft feel. For added detail, I might use small black buttons for eyes, or embroider simple black stitches for mouths.
To turn them into “stickers,” I attach a piece of double-sided adhesive fabric tape to the back, which makes them easy to apply to fabric banners, tote bags, or even as embellishments on a Halloween costume. I’ve found that mixing textures, like adding a small lace bow, can really elevate the design. For a simpler approach, plain white cotton fabric can be used with craft glue, though it might not have the same plushness as felt. Avoid fabrics that fray too easily if you want a clean edge.
Artistic Watercolor Ghost Stickers
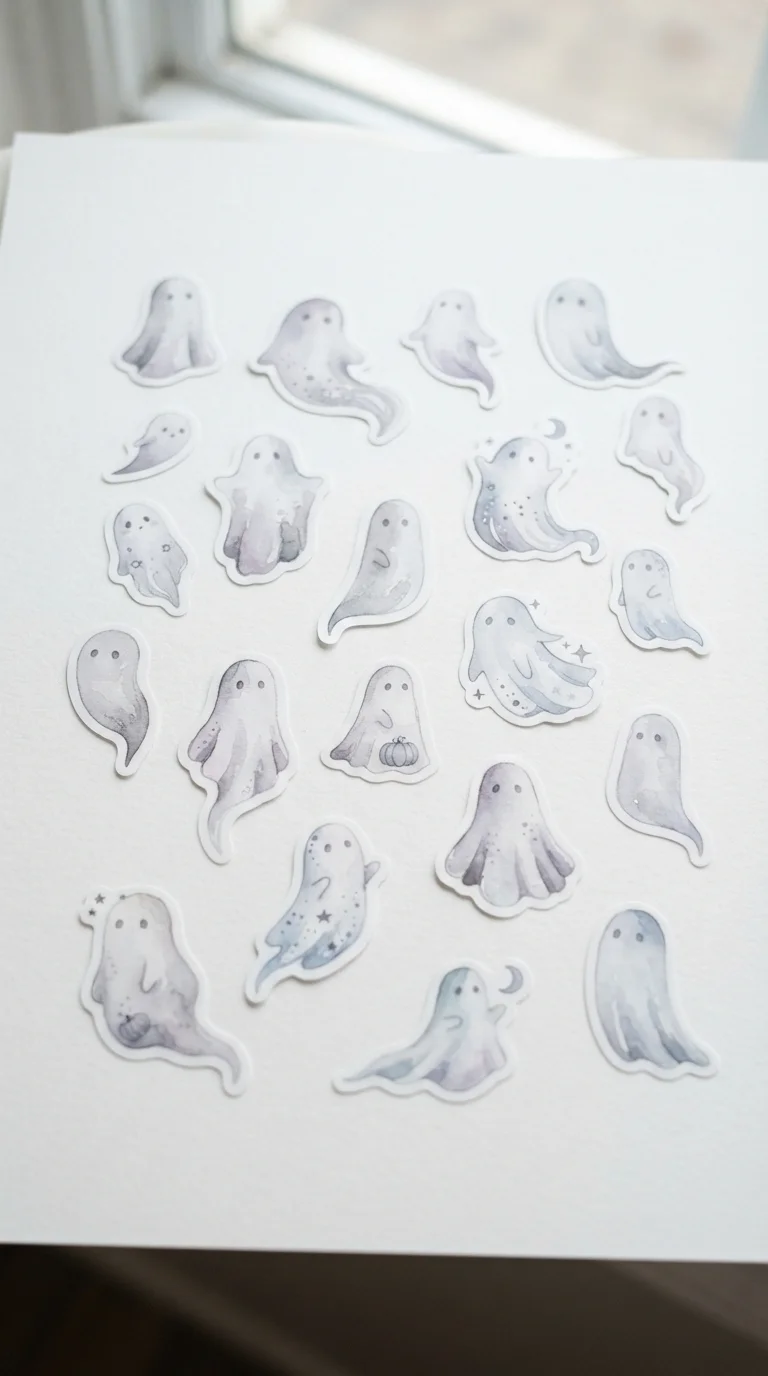
For a more artistic and ethereal look, I enjoy creating watercolor wash ghost stickers. I start by painting ghost shapes directly onto watercolor paper with very diluted gray, lavender, or pale blue watercolors, letting the edges blur naturally. Once dry, I carefully cut out the shapes and then apply a thin layer of clear adhesive to the back to make them stickable.
I love how the translucent quality of watercolor gives these ghosts a truly ghostly, almost transparent appearance. They look beautiful on journals, handmade cards, or even as decorative elements on glass jars, allowing light to filter through. A key tip is to use good quality watercolor paper to prevent buckling and to allow the colors to blend smoothly. For a budget-friendly option, you can use diluted acrylic paint on regular paper, though the effect will be less transparent.
Rustic Paper Bag Ghost Decals
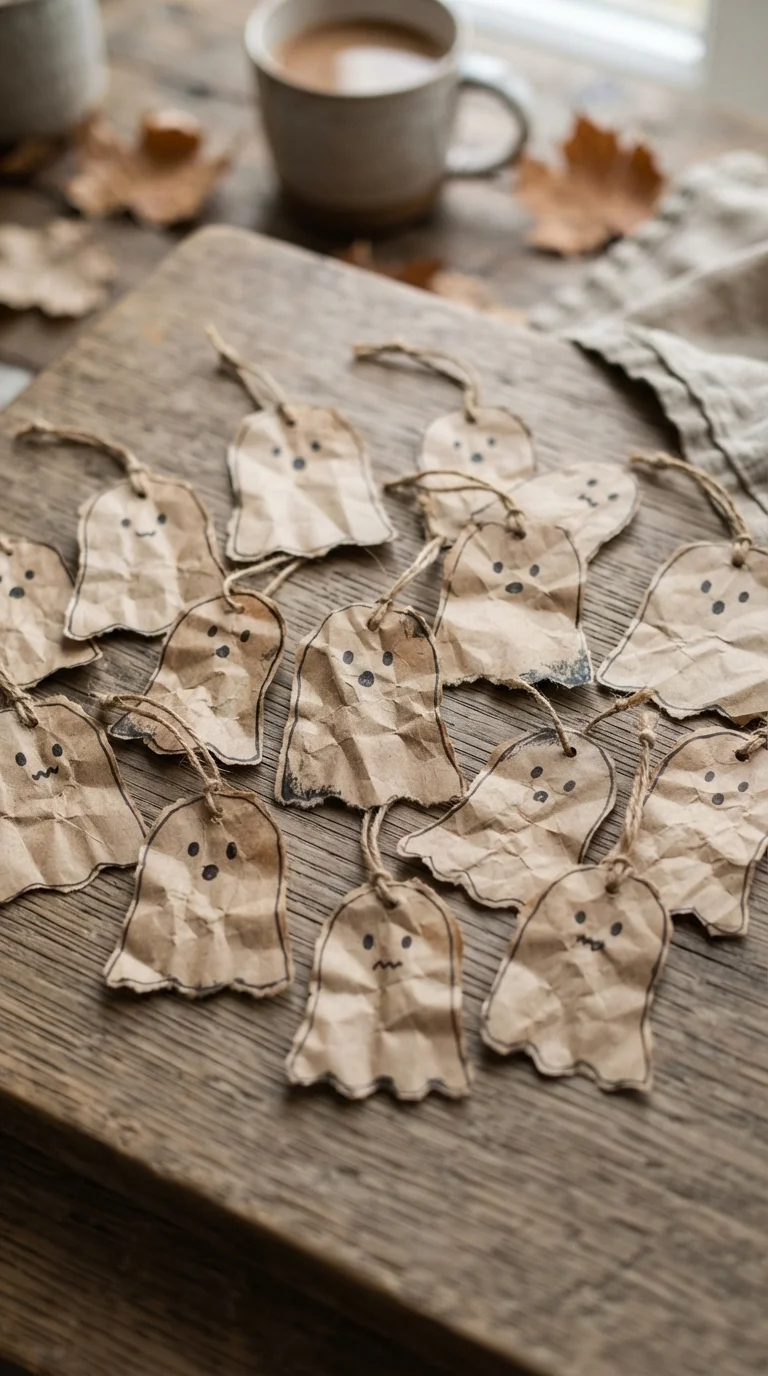
If you’re going for a rustic or farmhouse Halloween vibe, these paper bag ghost decals are wonderfully unique. I save brown paper bags, crumple them up to add texture, then smooth them out slightly before cutting out my ghost shapes. The natural creases and imperfections add so much character!
I use a black marker for simple, slightly distressed eyes and mouths. To make them into stickers, I apply double-sided tape or a strong craft glue to the back. These look fantastic on kraft paper gift tags, autumn wreaths, or even as part of a natural Halloween tablescape. A simple tip is to tear, rather than cut, some of the edges for an even more organic, rustic feel. Just be gentle when applying adhesive to avoid tearing the delicate paper.
Translucent Stained Glass Ghosts
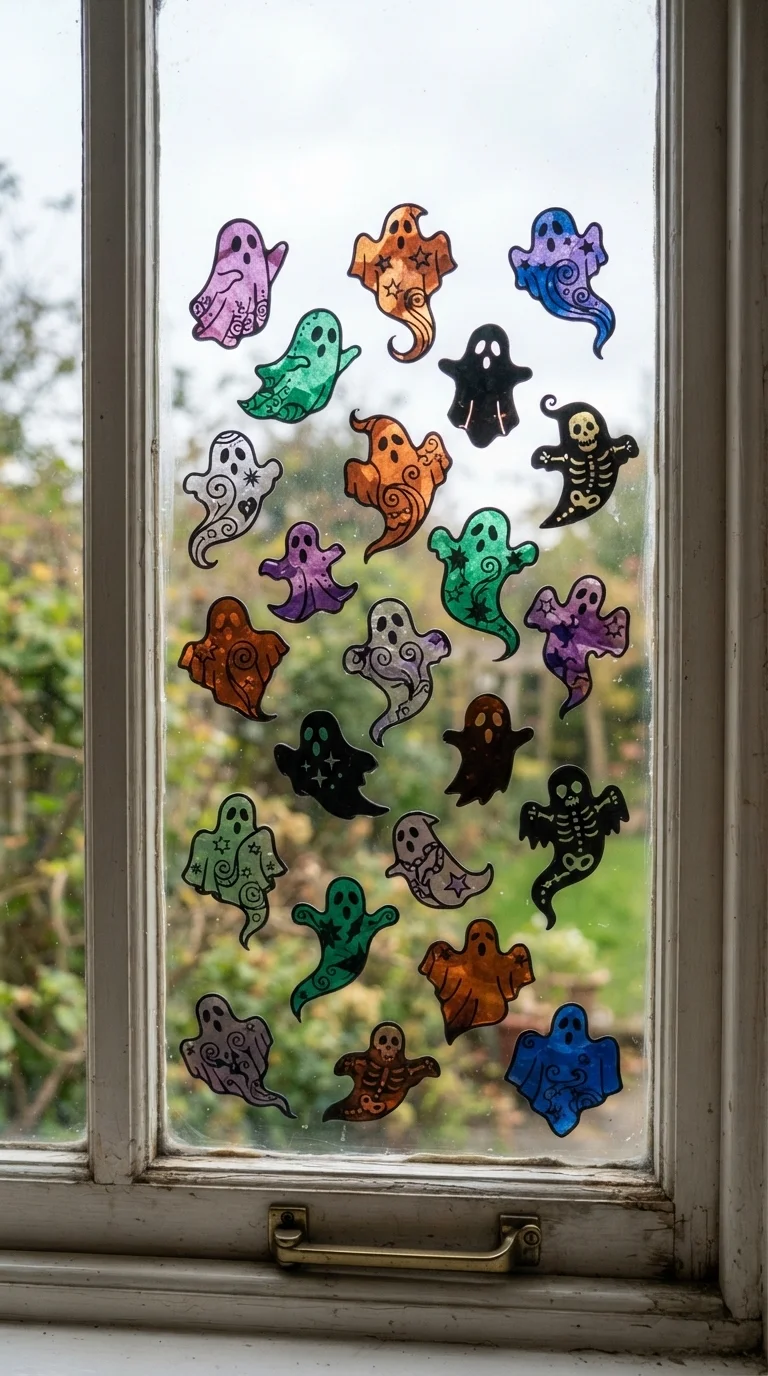
These translucent stained glass effect ghosts are absolutely stunning when placed on a window or against a light source. I create these by cutting ghost shapes from clear contact paper, then layering small pieces of colored tissue paper or translucent craft film onto the sticky side, much like creating a mosaic. Once covered, I add another layer of clear contact paper over the top to seal everything in.
I then carefully trim around the ghost shape. I often use black permanent marker to draw “lead lines” to enhance the stained-glass look. I love how the light catches the different colors, casting beautiful hues into a room. For a budget-friendly alternative, use different colored cellophane wrappers from candies. Just be careful to smooth out any air bubbles as you apply the layers.
Dynamic Layered Mixed Media Ghosts
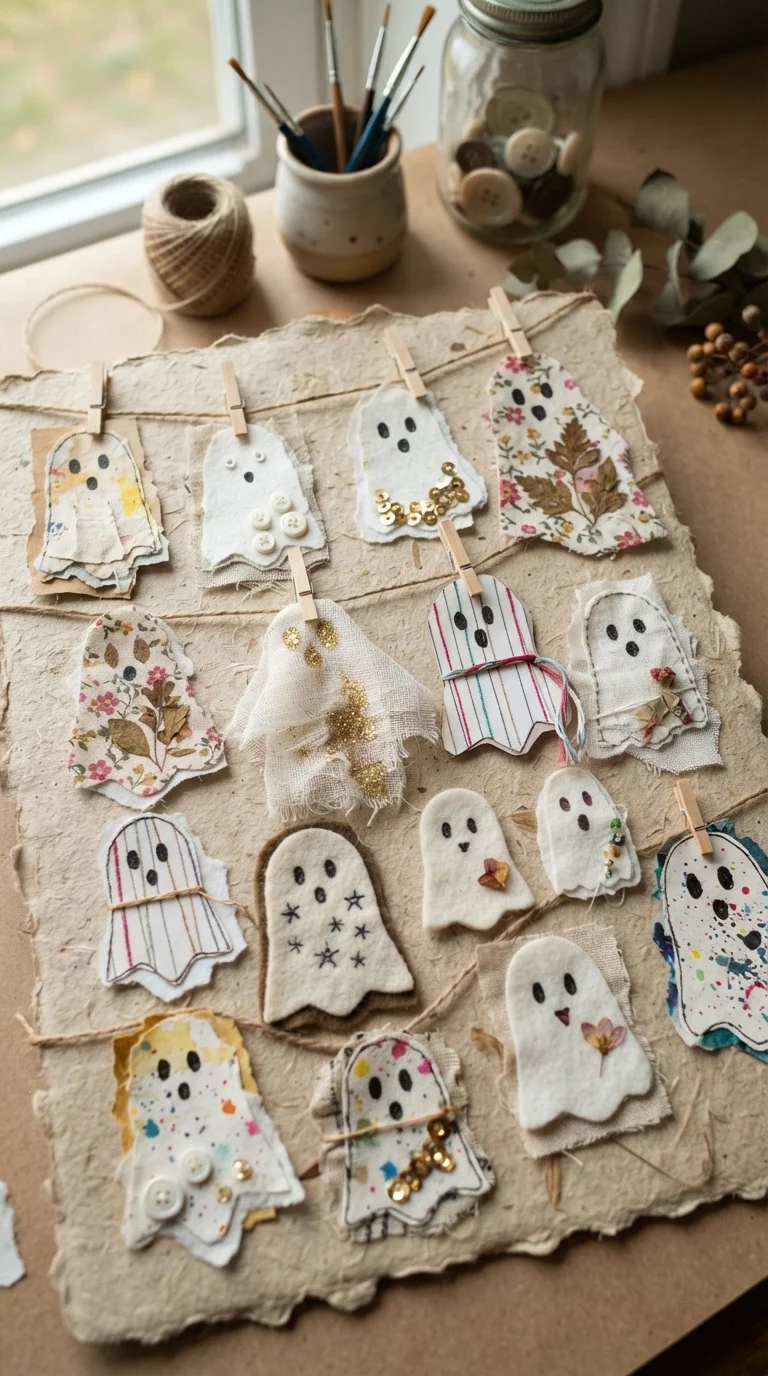
For those who love to experiment, these dynamic layered mixed media ghosts are a joy to create. I start with a basic ghost shape cut from cardstock, then I build up layers using various materials. This might include a base of patterned paper, followed by a smaller felt ghost, then perhaps some hand-drawn details with a white gel pen, and a sprinkle of fine glitter.
I’ve even incorporated tiny buttons for eyes or a small piece of dried pressed flower for an unexpected touch. The key is to play with different textures and dimensions. I use strong craft glue or foam adhesive dots to create height between layers. These are wonderful for adding a really unique, artisanal touch to scrapbooks or framed Halloween art. Don’t be afraid to mix and match; the beauty is in the unexpected combinations.