11 Luxury red and nude two tone acrylic nails

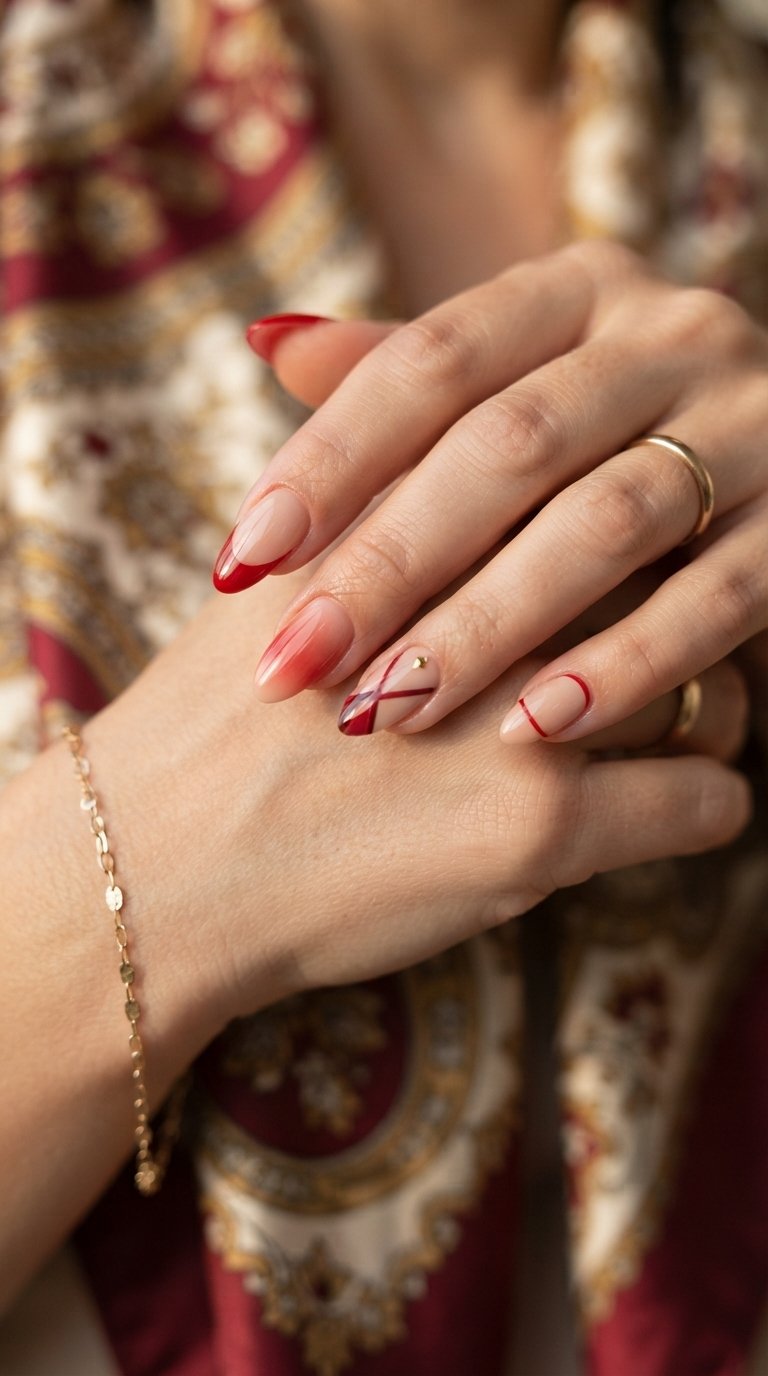
I’m always on the lookout for nail designs that feel truly luxurious and chic, and two-tone acrylics in red and nude have quickly become one of my absolute favorites. There’s something incredibly sophisticated about this color combination; the nude provides a perfect, elegant base, while a pop of red adds a touch of glamour and passion without being overwhelming. It’s a versatile pairing that works beautifully for any season or occasion, from a casual brunch to a formal evening event.
I’ve found that these designs really elevate an overall look, making a subtle yet powerful statement. Whether you prefer something understated or a bit more dramatic, the interplay between these two shades offers endless possibilities. I love how they can be adapted to various personal styles, and they always look polished and expensive. In this article, I’m excited to share my top 11 ideas for styling luxury red and nude two-tone acrylic nails, complete with tips on how you can achieve these stunning looks.
Classic French Tip with Red Base
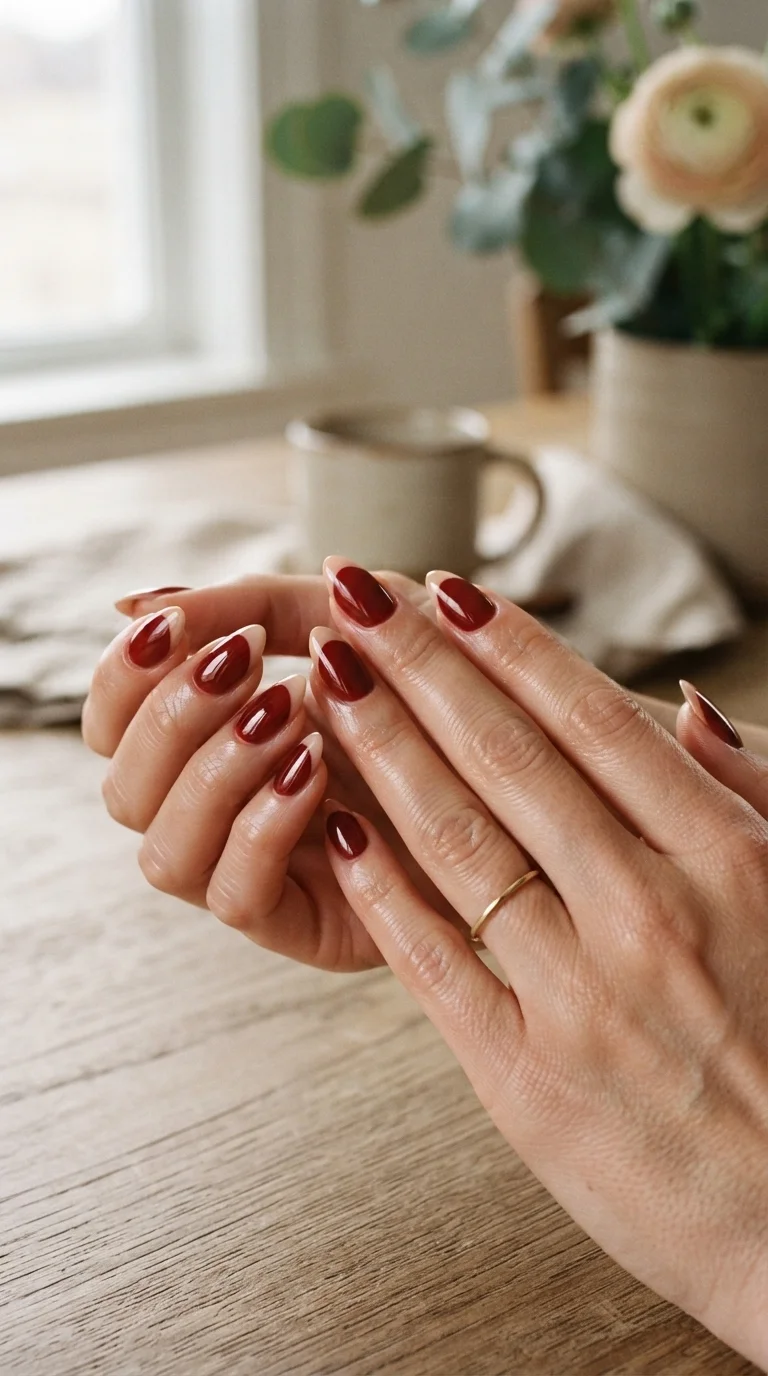
I adore the timeless elegance of a French manicure, and putting a twist on it with a red base and nude tip feels incredibly luxurious. I usually opt for a deeper, true red for the main nail color, making the nude tip really pop as a subtle contrast. This design works wonderfully on almond or coffin-shaped nails, giving them a sophisticated silhouette. To recreate this, I would ensure the nude tip is applied with precision, keeping the line crisp and clean for that high-end finish. A common mistake I avoid is making the nude tip too thick; it should be delicate to maintain the classic French aesthetic. This look pairs beautifully with almost any outfit, adding a polished touch.
Gradient Ombre from Red to Nude
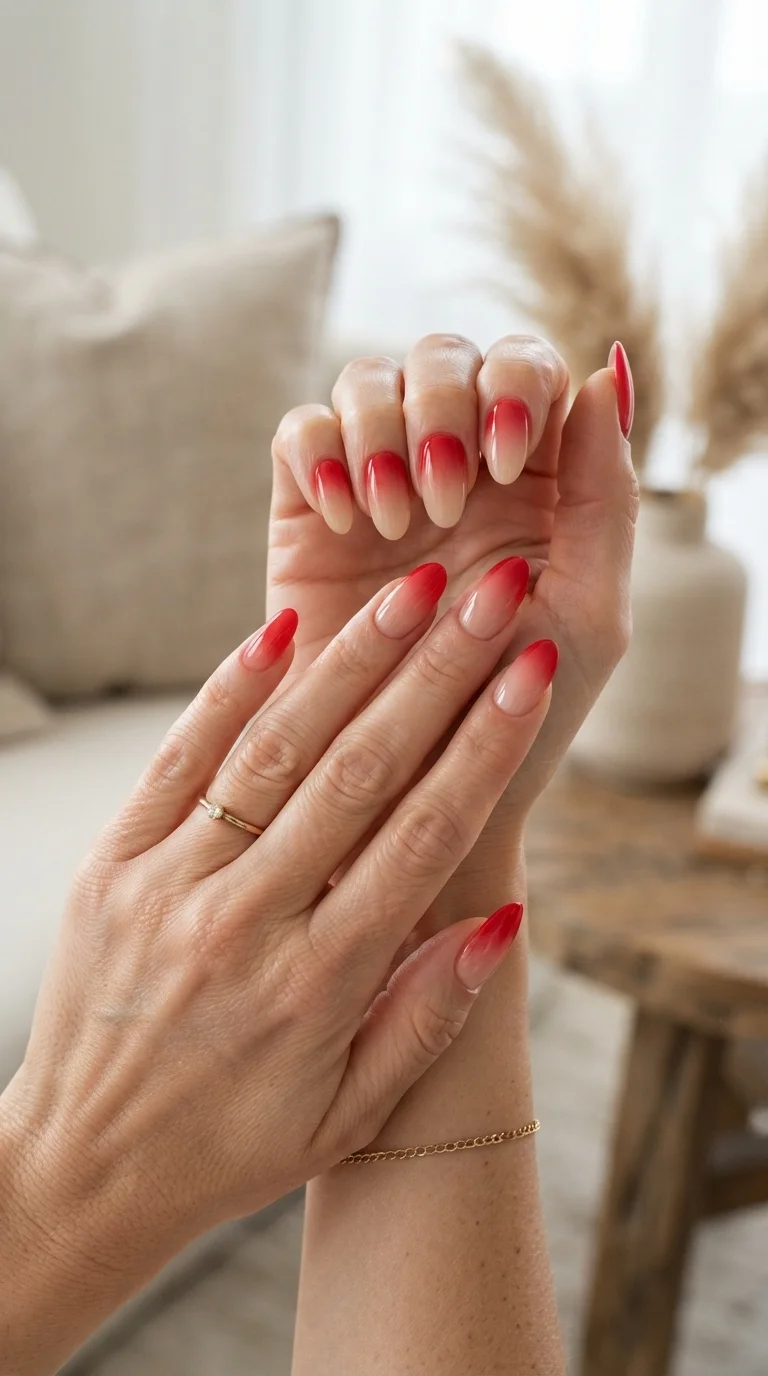
An ombre design transitioning from red to nude is pure artistry, in my opinion. I prefer to start with a rich, vibrant red at the cuticle, allowing it to softly fade into a creamy nude towards the tip. This creates a really flattering elongated look, especially on longer nail shapes like oval or coffin. The key to a beautiful ombre is a smooth, seamless blend, so I always make sure my nail technician takes their time to avoid any harsh lines. For a subtle sparkle, I might ask for a very fine glitter dust to be incorporated into the nude section. This style is incredibly versatile and always looks chic, making your hands feel instantly glamorous.
Bold Half-Moon in Contrasting Colors
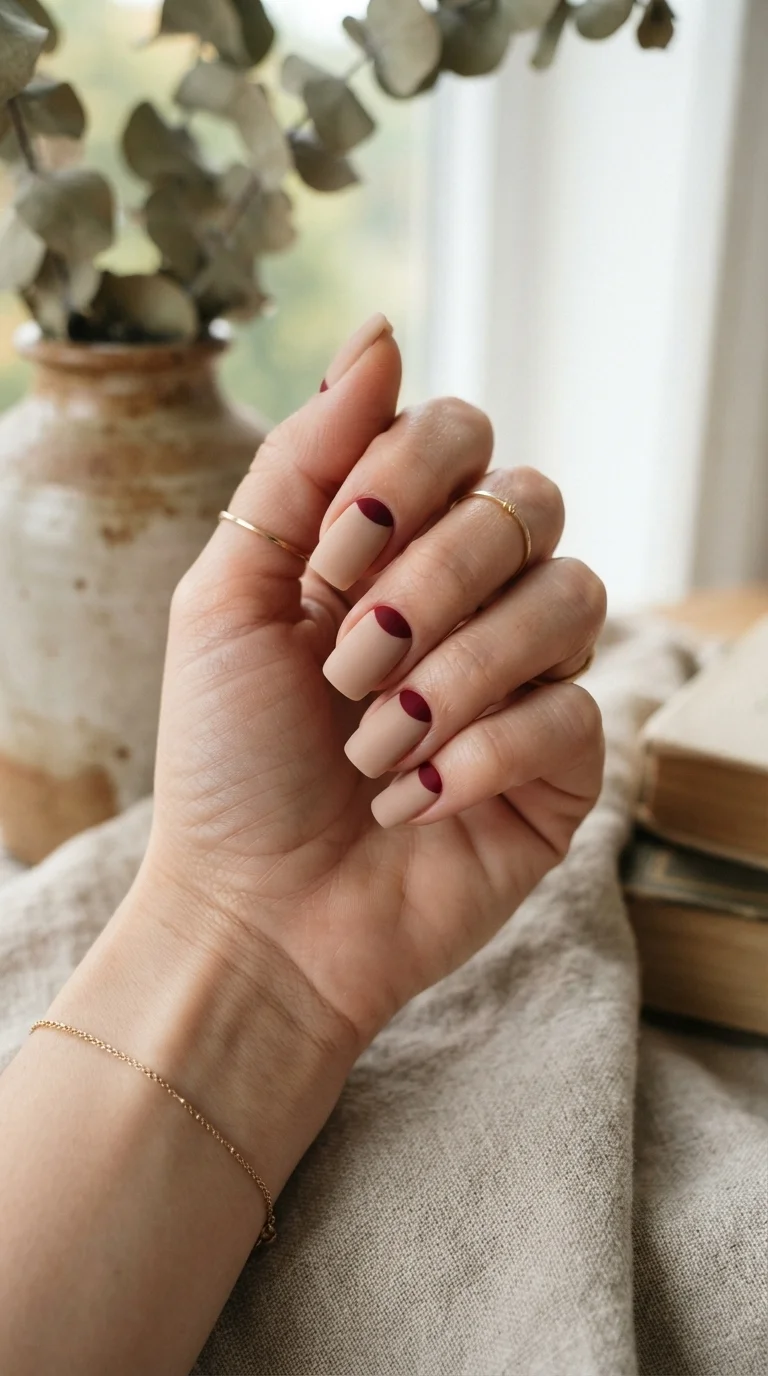
The half-moon design, sometimes called a ‘reverse French,’ is such a chic way to play with two tones. I love how a bold red crescent at the base of the nail, contrasted with a nude main body, creates a vintage-inspired yet modern feel. For this look, I typically go for a squarer or squoval nail shape to really emphasize the clean lines of the half-moon. I would suggest keeping the red crescent quite slim and perfectly arched for a sophisticated touch. A glossy finish works well, but for something truly unique, I’d consider a matte nude with a glossy red half-moon to add textural interest. It’s a design that feels incredibly intentional and polished.
Subtle Diagonal Color Block
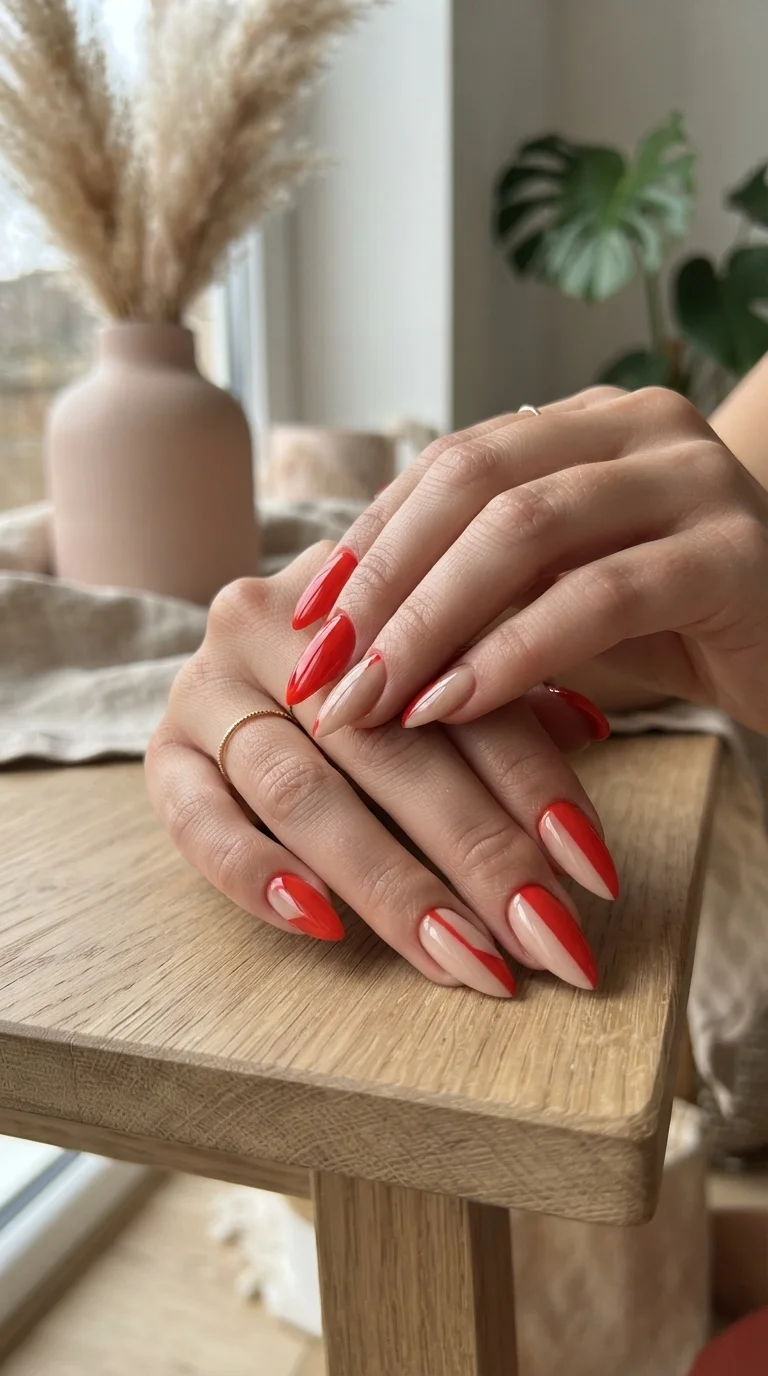
For a modern and minimalist vibe, I often gravitate towards a diagonal color block. This design involves splitting the nail diagonally, with one section in red and the other in nude. I find it particularly striking on almond or stiletto shapes, as the diagonal line really accentuates the nail’s natural curve. The trick to making this look luxurious is ensuring the dividing line is incredibly sharp and clean; any wobbles can detract from the elegance. I prefer to use a slightly deeper red for impact, paired with a sophisticated, warm nude. This design is effortlessly chic and adds a subtle architectural element to your manicure.
Geometric Red and Nude Panels
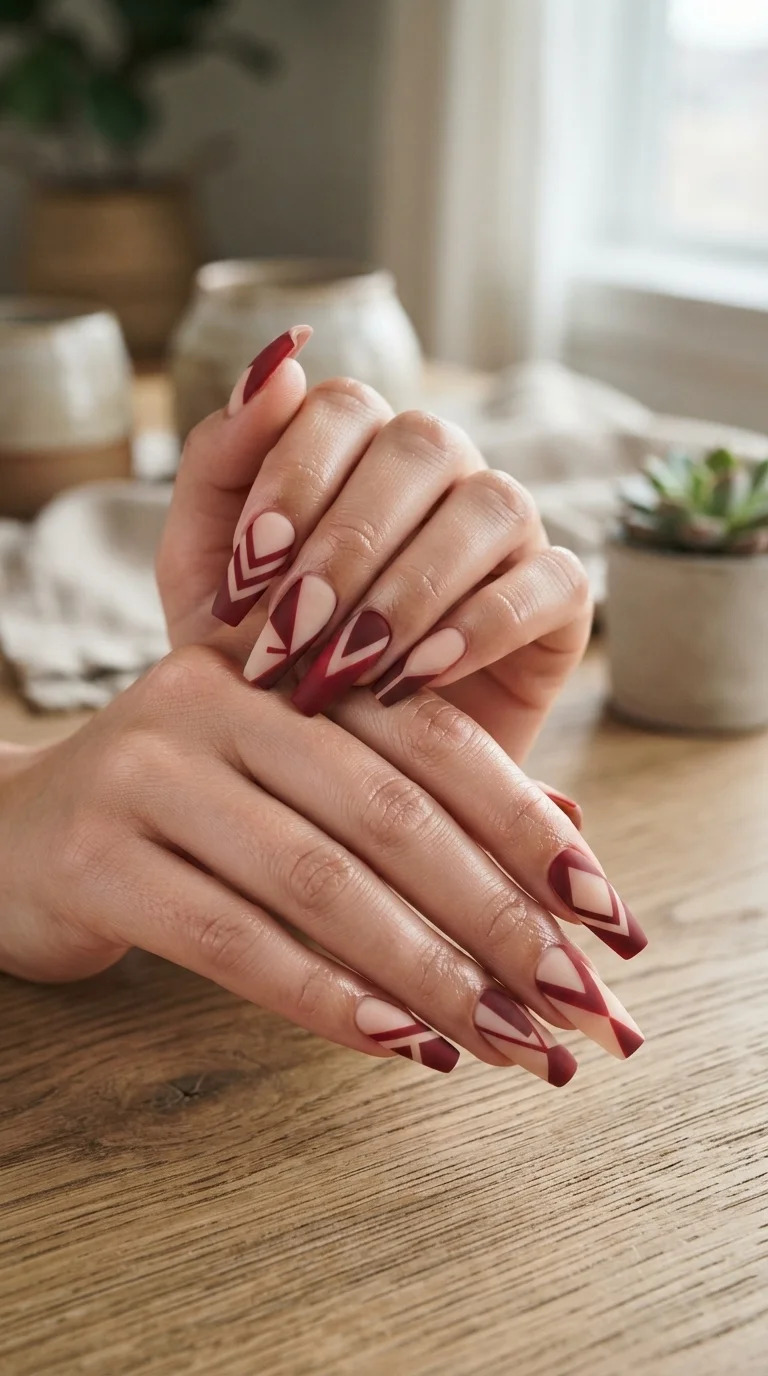
When I want something a bit more avant-garde, geometric panels in red and nude are my go-to. This involves creating small, distinct shapes on each nail using both colors. I love experimenting with different geometric forms – triangles, squares, or even irregular polygons – to create a unique pattern on each nail. The key here is precision and balance; you want the design to look cohesive, not chaotic. For a budget-friendly option, you could try this on a single accent nail rather than all ten. I usually opt for a crisp, clean finish, perhaps a semi-matte top coat, to really make the sharp lines stand out. This design feels incredibly artistic and fashion-forward.
Accent Nail with Gold Flake Overlay
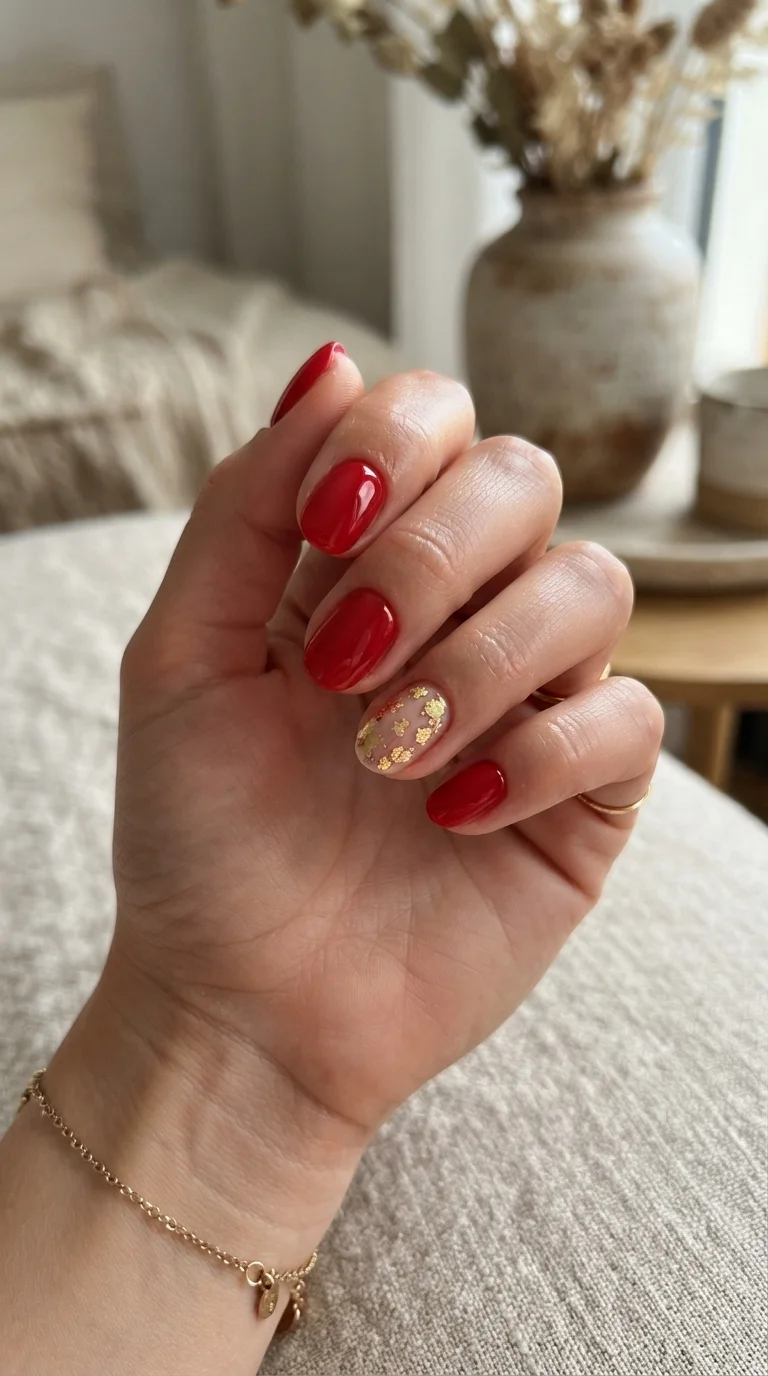
Sometimes, all it takes is one special nail to elevate the entire set. I love doing nine nails in a solid, glossy red and then making the ring finger a beautiful nude base with delicate gold leaf flakes. The gold adds an incredible touch of luxury and warmth that beautifully complements both the red and the nude. When applying the gold flakes, I prefer them to be unevenly distributed for a more organic, opulent feel, rather than a perfectly uniform pattern. This design is fantastic for special occasions or when I want a little extra sparkle without overwhelming the overall look. It’s a simple change that makes a huge impact.
Matte Red with Glossy Nude Details
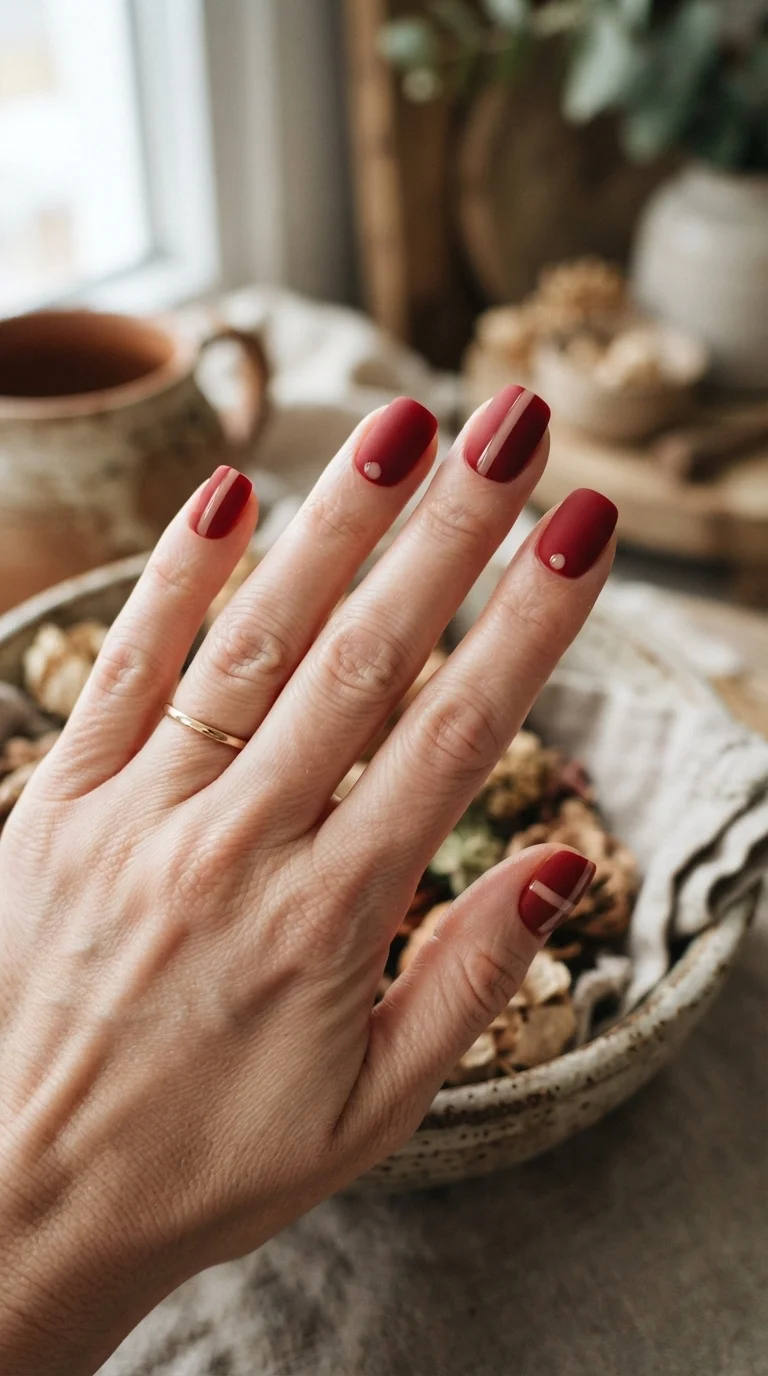
Playing with textures is one of my favorite ways to add a luxurious dimension to a manicure. I often do a full set of matte red acrylics, then incorporate glossy nude details. This could be a glossy nude stripe down the center, a tiny glossy nude heart, or even just the cuticle line highlighted in a glossy nude. The contrast between the velvety matte red and the reflective nude is incredibly chic and sophisticated. This technique works well on any nail shape, but I find it particularly striking on short, squoval nails. It’s a subtle detail that truly elevates the design and catches the eye without being too flashy. To complement this elegant nail style, I might pair it with an equally sophisticated ensemble, perhaps a luxury maroon bodycon outfit for a cohesive and glamorous look.
Reverse French with Nude Crescent
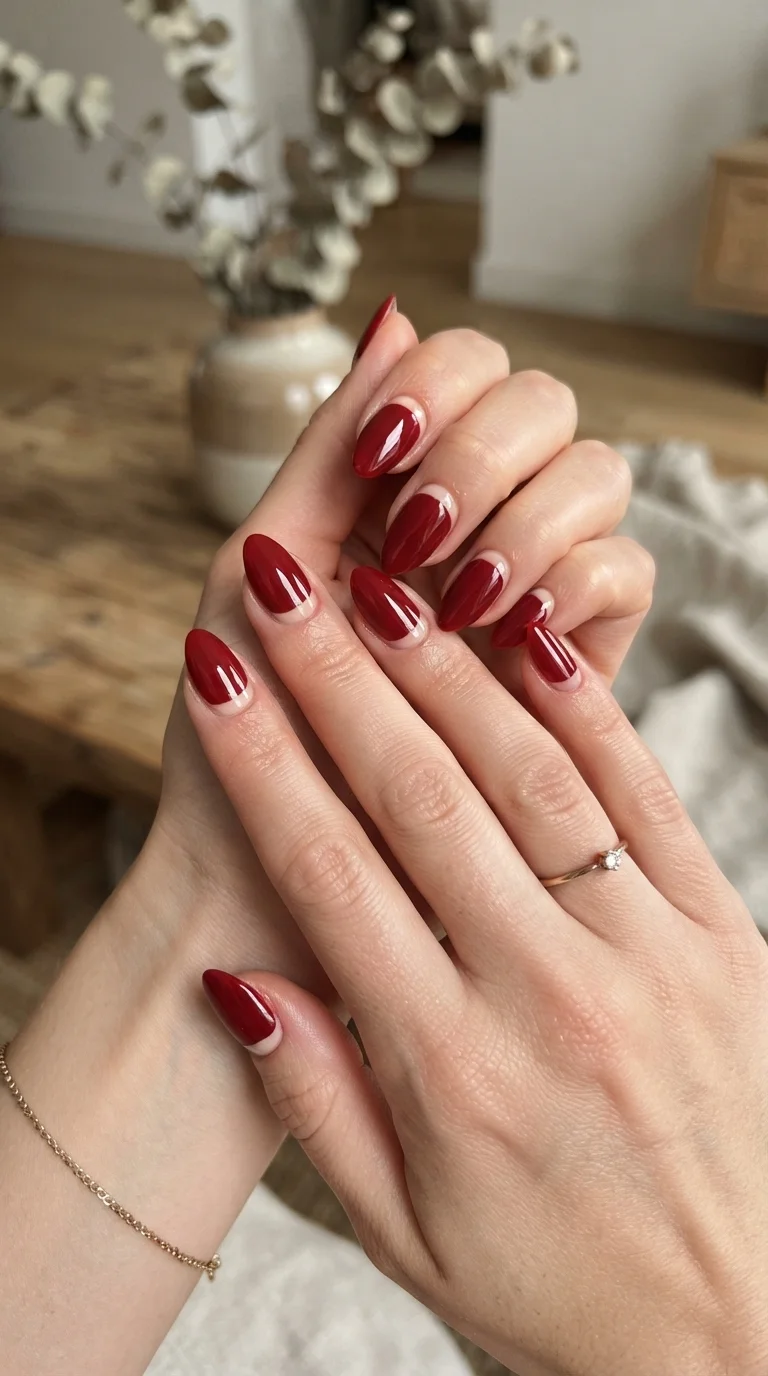
The reverse French manicure is such an elegant alternative to the traditional tip, and I particularly love it with a nude crescent at the cuticle. I typically choose a vibrant, classic red for the main body of the nail, allowing that soft nude curve at the base to really stand out. It’s a subtle detail that adds a touch of refinement and unexpected charm. I find this design looks best on almond or oval shapes, as the gentle curve of the nude accentuates the natural nail line. For a more budget-friendly approach, you could use regular polish and a steady hand, or nail art tape to achieve that crisp line.
Playful Polka Dot Accent Nail
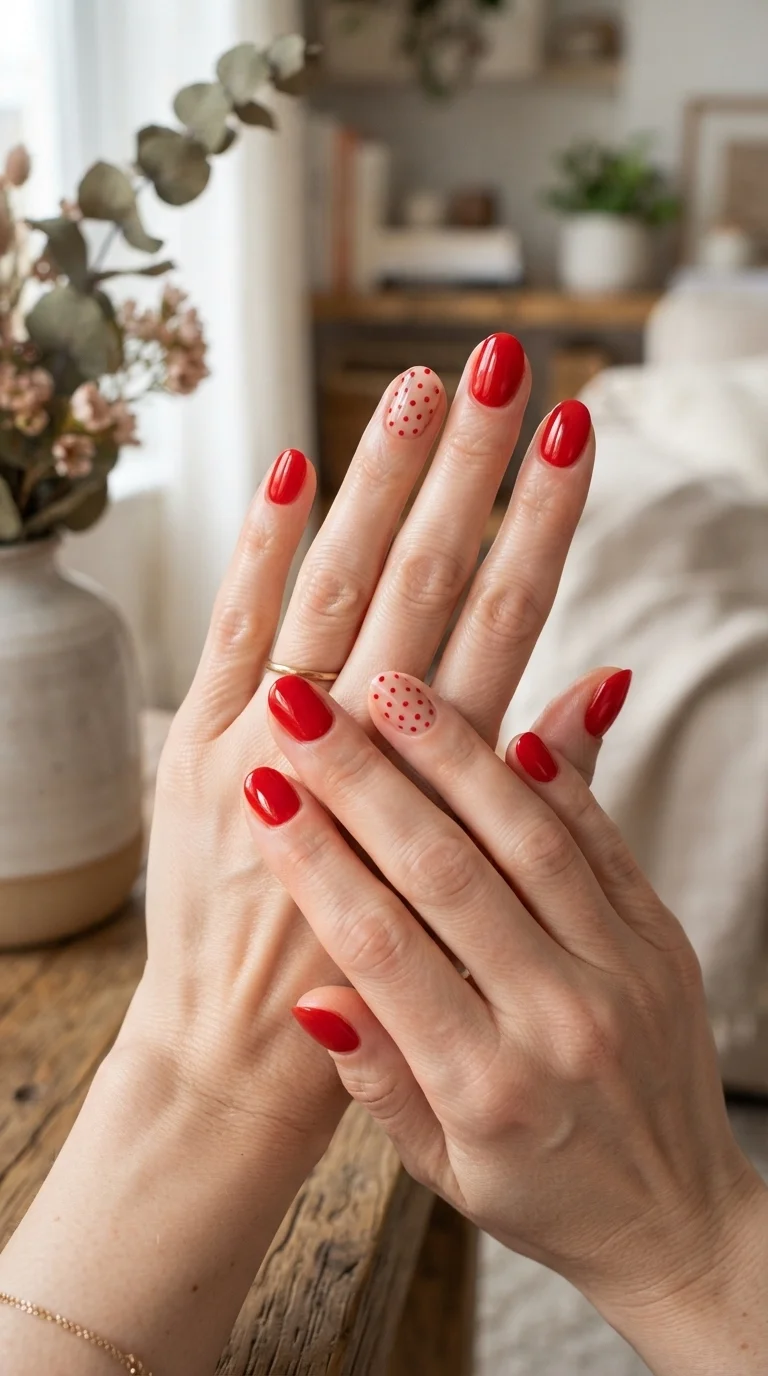
For a touch of playful sophistication, I sometimes do a solid red set and then add a single accent nail with nude as the base and tiny red polka dots. It’s a whimsical detail that doesn’t detract from the overall luxury. I always make sure the polka dots are perfectly uniform and evenly spaced; using a dotting tool is essential for this precision. The size of the dots matters too – I prefer small, delicate dots to keep it chic rather than childish. This look is perfect for adding a bit of personality to your manicure and can easily be adapted for different occasions by changing the size or density of the dots. It’s a fun way to incorporate both colors elegantly.
Modern Abstract Swirls
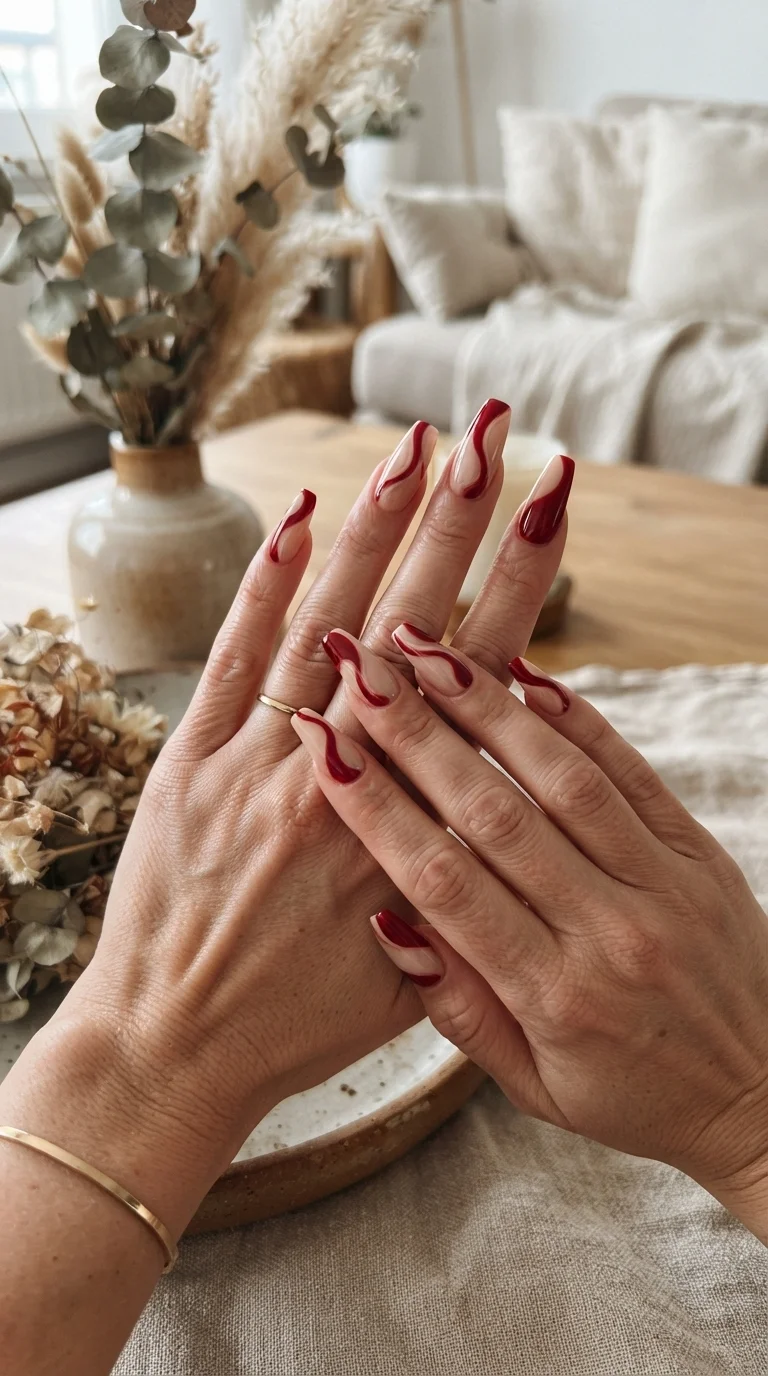
Abstract swirls are a fantastic way to showcase both red and nude in a truly artistic manner. I love creating fluid, organic lines and curves that weave across the nail, allowing the colors to blend and contrast harmoniously. This design feels very modern and unique, as no two nails have to be exactly alike. I usually go for a glossy finish to enhance the movement and depth of the swirls. For those with less experience, starting with simpler, bolder swirls on a nude base with red accents, or vice versa, is a great approach. This style is perfect for expressing creativity and adding a contemporary edge to your manicure.
Rhinestone Embellished Nude Base
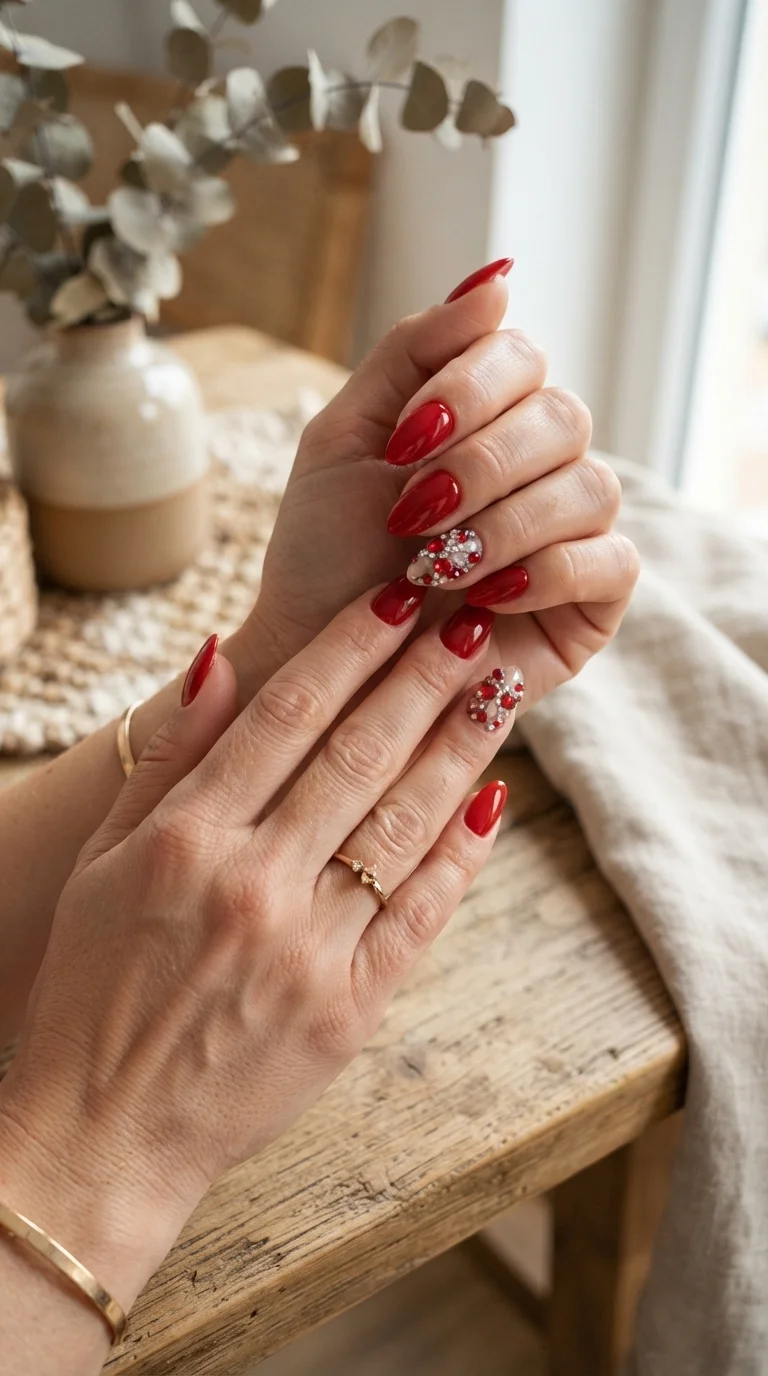
For ultimate glamour, I sometimes choose a solid red on most nails and then dedicate an accent nail to a nude base heavily embellished with rhinestones. I like to use a mix of red and clear or iridescent stones, carefully placed to create a dazzling effect. The nude base allows the sparkle to truly pop without being too overwhelming. When choosing rhinestones, I always go for high-quality, flat-backed crystals for a secure and long-lasting application. A common mistake is using too much glue, which can cloud the stones; a tiny dot is all you need. This look is perfect for a special event where you want your hands to truly shine.